Getting started with Kestra — Modern engine for business automation
In this article, I’ll share my experience with Kestra. It’s a modern workflow orchestration platform that’s become popular among developers. If you’ve worked with Apache Airflow or simlar tools, Kestra feels different. It offers a fresh take on workflow automation
Introduction
I’ve worked with many workflow engines. I now value tools that enhance the developer experience while still being functional. Kestra grabbed my attention. It aims to simplify complex business process automation. Plus. it keeps the flexibility needed for real-world use.
Many of my projects use Spring Boot microservices that need orchestration. I wondered how Kestra would fit into this setup. The results have been quite impressive, and I think you’ll find is as compelling as I do.
What is Kestra?
Kestra is open-source platform. It helps you build, schedule, and monitor complex data pipelines and business processes. Consider it a simple, modern choice compared to traditional workflow engines. It prioritizes ease and boosts developer productivity.
The platform is built around several key principles:
- YAML-First approach: Unlike some tools that require you to write code in specific programming languages, Kestra uses YAML to define workflows. This makes it accessible to both developers and non-technical team members.
- Plugin ecosystem: Kestra comes with a rich set of plugins for various integrations — databases, APIs, file systems, cloud services and more. If you need something that doesn’t exist, creating custom plugin is straightforward.
- Real-time monitoring: The web interface provides gives your clear insight into your workflows. It offers detailed logs, metrics, and easy debugging features.
- API-First design: Everything in Kestra can be managed via API, making it perfect for GitOps workflows and automated deployments
Why choose Kestra?
Before diving into implementation, let me explain why you may choose Kestra over other alternatives:
- Developer experience: Setting up workflows is intuitive. If you can write YAML, you can create workflows in Kestra.
- Scalability: Kestra manages everything, from basic scheduled tasks to complex workflows with many executions.
- Modern architecture: Kestra uses modern tech and design. It feels fresh next to older workflow tools.
- Community and documentation: The community is lively. The documentation is thorough and includes practical examples.
Setting up your development environment
Let’s start by setting up Kestra locally. I’ll use Docker Compose since it’s the simplest way to get everything running.
First let’s create a directory for our Kestra project:
mkdir kestra-demo
cd kestra-demo
Now let’s create a docker-compose.yml file to run Kestra with PostgreSQL:
version: "3.8"

services:
  postgres:
    image: postgres:15
    environment:
      POSTGRES_DB: kestra
      POSTGRES_USER: kestra
      POSTGRES_PASSWORD: kestra
    volumes:
      - postgres_data:/var/lib/postgresql/data
    networks:
      - kestra

  kestra:
    image: kestra/kestra:latest
    pull_policy: always
    user: "root"
    command: server standalone --worker-thread=128
    volumes:
      - kestra_data:/app/storage
      - /var/run/docker.sock:/var/run/docker.sock
      - /tmp/kestra-wd:/tmp/kestra-wd:rw
    environment:
      KESTRA_CONFIGURATION: |
        datasources:
          postgres:
            url: jdbc:postgresql://postgres:5432/kestra
            driverClassName: org.postgresql.Driver
            username: kestra
            password: kestra
        kestra:
          server:
            basic-auth:
              enabled: false
          repository:
            type: postgres
          storage:
            type: local
            local:
              base-path: "/app/storage"
          queue:
            type: postgres
          tasks:
            tmp-dir:
              path: /tmp/kestra-wd/tmp
        micronaut:
          application:
            name: kestra
          server:
            port: 8080
    ports:
      - "8080:8080"
    depends_on:
      - postgres
    networks:
      - kestra

volumes:
  postgres_data:
    driver: local
  kestra_data:
    driver: local

networks:
  kestra:
    driver: bridge
Start the services
docker compose up -d
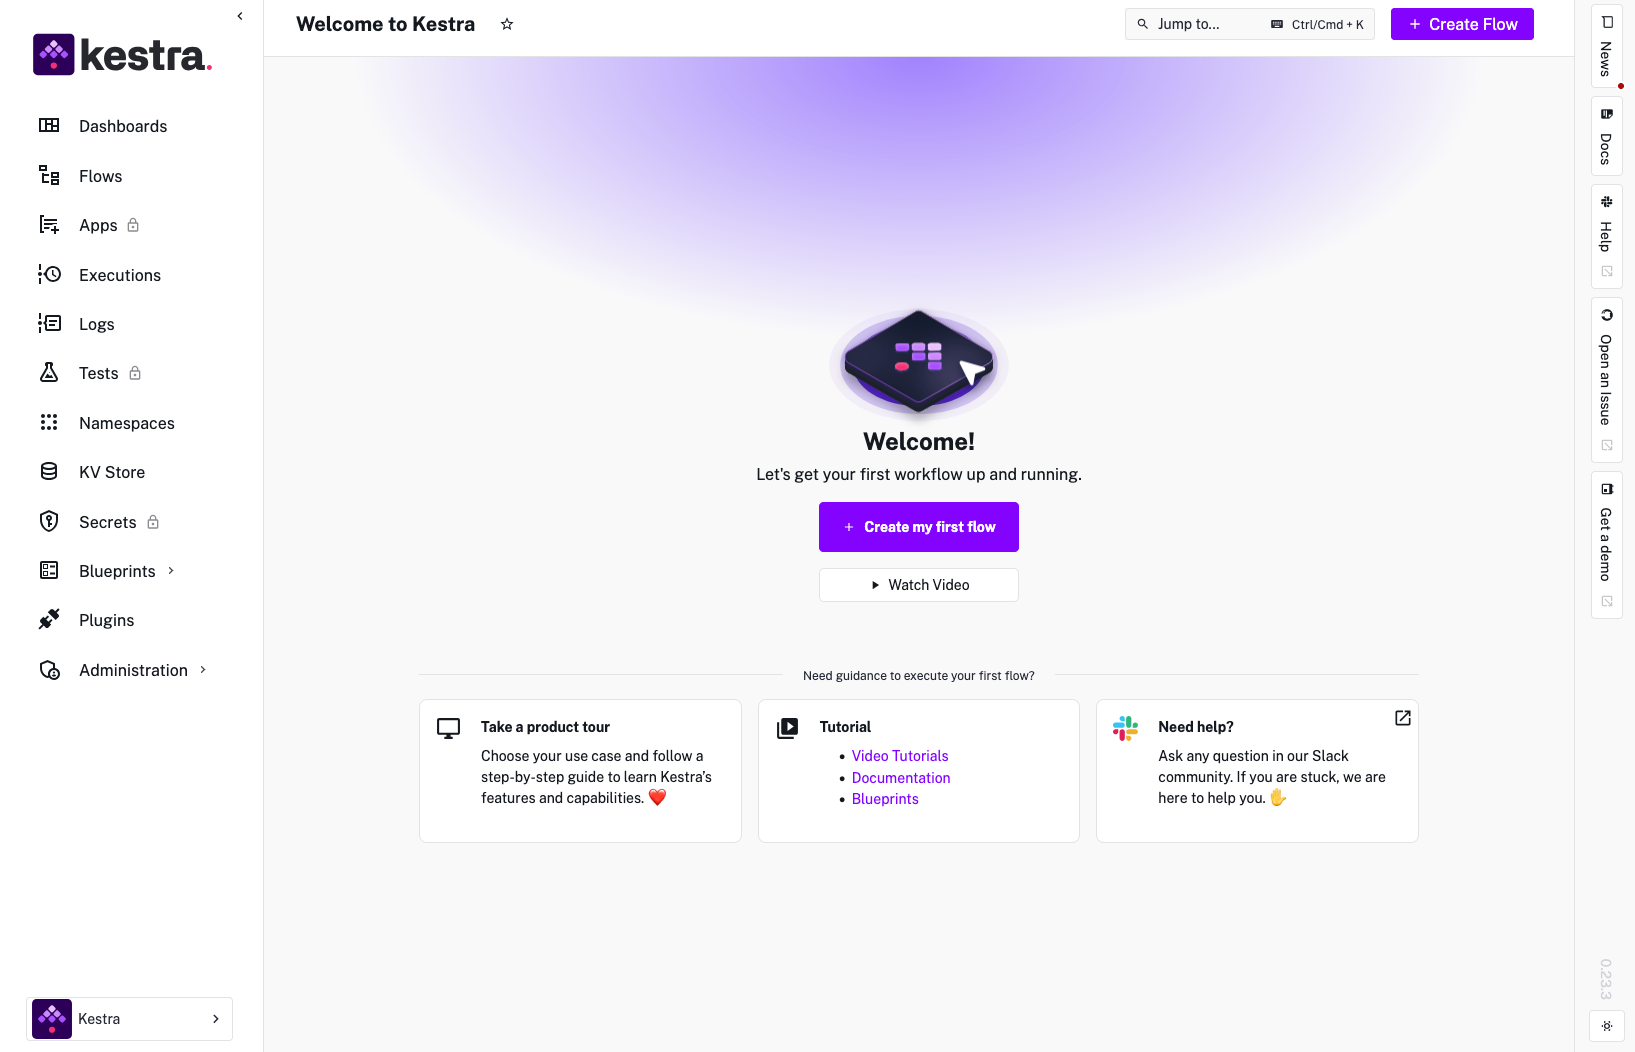
After a few minutes, you should be able to access the Kestra UI at http://localhost:8080
Your first workflow
Let’s create a simple workflow to understand how Kestra works. In the Kestra UI, navigate to the «Flows» section and create a new flow.
Here’s a basic workflow that demonstrated several key concepts:
id: hello-world-demo
namespace: dev.vrnsky

description: A simple demonstration workflow

inputs:
  - id: name
    type: STRING
    defaults: "World"
    description: Name to greet

tasks:
  - id: greeting
    type: io.kestra.core.tasks.log.Log
    message: "Hello, {{ inputs.name }}!"
  - id: current-time
    type: io.kestra.plugin.scripts.shell.Script
    script: "echo \"Current time is: $(date)\""
  - id: generate-report
    type: io.kestra.plugin.scripts.python.Script
    beforeCommands:
      - pip install requests
    script: |
      import json
      import requests
      from datetime import datetime

      # Simulate API call
      response = {
          "timestamp": datetime.now().isoformat(),
          "greeting": "{{ inputs.name }}",
          "status": "success"
      }

      print(json.dumps(response, indent=2))

      # Save to output
      with open('report.json', 'w') as f:
          json.dump(response, f, indent=2)
    outputFiles:
      - report.json
triggers:
  - id: daily-schedule
    type: io.kestra.core.models.triggers.types.Schedule
    cron: "0 9 * * *io.kestra.plugin.scripts.python.Script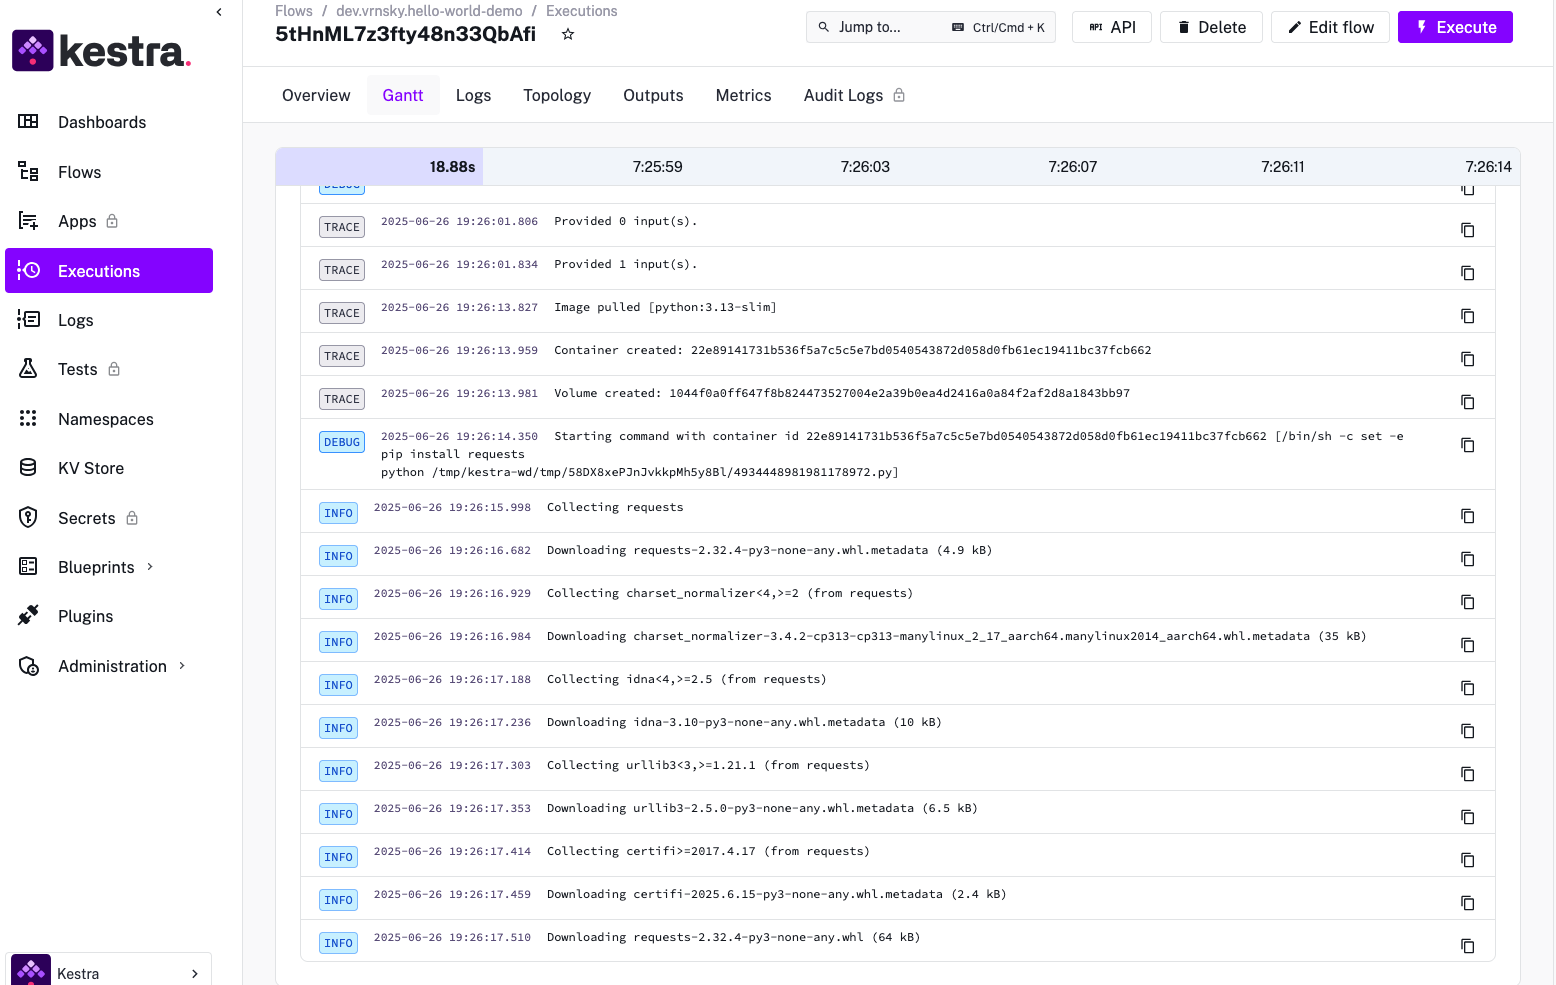
This workflow demonstrates several key concepts:
Inputs: The workflow accepts a name parameter with a default value
Tasks: We define three tasks that run sequentially:
- A simple log message
- A bash script that shows the current time
- A Python script that generates a JSON report
Outputs: The python task creates an output file that can be used by next tasks.
Triggers: A schedule trigger that runs the workflow daily at 9 AM.
Building more complex example
Let’s create a more realistic workflow that processes data and integrates with external services. This example shows a common business situation: handling customer data and sending notifications.
id: customer-data-pipeline
namespace: dev.vrnsky.business

description: Customer data processing pipeline

inputs:
  - id: date
    type: DATE
    defaults: "{{ now() | date('yyyy-MM-dd') }}"

tasks:
  - id: fetch-customer-data
    type: io.kestra.plugin.scripts.python.Script
    beforeCommands:
      - pip install pandas requests
    script: |
      import pandas as pd
      import json
      from datetime import datetime

      # Simulate fetching customer data
      customers = [
          {"id": 1, "name": "John Doe", "email": "john@example.com", "status": "active"},
          {"id": 2, "name": "Jane Smith", "email": "jane@example.com", "status": "inactive"},
          {"id": 3, "name": "Bob Wilson", "email": "bob@example.com", "status": "active"}
      ]

      df = pd.DataFrame(customers)

      # Filter active customers
      active_customers = df[df['status'] == 'active']

      # Save results
      active_customers.to_csv('active_customers.csv', index=False)

      print(f"Processed {len(active_customers)} active customers")
    outputs:
      - id: customer_file
        from: active_customers.csv

  - id: validate-data
    type: io.kestra.plugin.scripts.python.Script
    beforeCommands:
      - pip install pandas
    script: |
      import pandas as pd

      # Read the customer data
      df = pd.read_csv('{{ outputs.fetch-customer-data.customer_file }}')

      # Validate data
      errors = []

      if df.empty:
          errors.append("No customer data found")

      # Check for required fields
      required_fields = ['id', 'name', 'email']
      for field in required_fields:
          if field not in df.columns or df[field].isnull().any():
              errors.append(f"Missing or invalid {field}")

      if errors:
          raise ValueError(f"Validation failed: {', '.join(errors)}")

      print(f"Validation passed for {len(df)} customers")

  - id: send-notifications
    type: io.kestra.core.tasks.scripts.Bash
    commands:
      - echo "Sending notifications to active customers..."
      - echo "Notification sent successfully"

  - id: cleanup
    type: io.kestra.plugin.scripts.shell.Script
    commands: |
       echo "Cleaning up temporary files..."
       ls -la
    runIf: "{{ parents.validate-data.taskRunId != null }}"

errors:
  - id: error-handler
    type: io.kestra.core.tasks.log.Log
    message: "Workflow failed: {{ task.id }} - {{ task.outputs.error }}"

triggers:
  - id: business-hours-trigger
    type: io.kestra.core.models.triggers.types.Schedule
    cron: "0 */2 8-18 * * MON-FRI"  # Every 2 hours during business days
This workflow demonstrates more advanced features:
- Data processing: Use pandas to handle CSV data.
- Error handling: The error section show what happens if tasks fail.
- Conditional execution: The cleanup task runs only if validation succeeds.
- Business logic: A schedule that operates during business hours.
Integrating with Spring Boot
Since most of my work involves Spring Boot, let me show you how to integrate Kestra with your Java applications.
You can trigger Kestra workflows from your Spring Boot application using the REST API:
@Service
@RequiredArgsConstructor
public class KestraWorkflowService {

    private final RestTemplate restTemplate;

    @Value("${kestra.api.url:http://localhost:8080}")
    private String kestraApiUrl;

    public String triggerWorkflow(String namespace, String flowId, Map<String, Object> inputs) {
        String url = String.format("%s/api/v1/executions/%s/%s",
                                  kestraApiUrl, namespace, flowId);

        Map<String, Object> request = new HashMap<>();
        request.put("inputs", inputs);

        try {
            ResponseEntity<Map> response = restTemplate.postForEntity(url, request, Map.class);
            Map<String, Object> responseBody = response.getBody();
            return (String) responseBody.get("id");
        } catch (Exception e) {
            throw new RuntimeException("Failed to trigger workflow", e);
        }
    }

    public ExecutionStatus getExecutionStatus(String executionId) {
        String url = String.format("%s/api/v1/executions/%s", kestraApiUrl, executionId);

        try {
            ResponseEntity<Map> response = restTemplate.getForEntity(url, Map.class);
            Map<String, Object> execution = response.getBody();
            String state = (String) execution.get("state");

            return switch (state) {
                case "SUCCESS" -> ExecutionStatus.SUCCESS;
                case "FAILED" -> ExecutionStatus.FAILED;
                case "RUNNING" -> ExecutionStatus.RUNNING;
                default -> ExecutionStatus.UNKNOWN;
            };
        } catch (Exception e) {
            throw new RuntimeException("Failed to get execution status", e);
        }
    }

    public enum ExecutionStatus {
        SUCCESS, FAILED, RUNNING, UNKNOWN
    }
}
You can also create a controller to expose these capabilities:
@RestController
@RequestMapping("/api/workflows")
@RequiredArgsConstructor
public class WorkflowController {

    private final KesturaWorkflowService workflowService;

    @PostMapping("/trigger/{namespace}/{flowId}")
    public ResponseEntity<Map<String, String>> triggerWorkflow(
            @PathVariable String namespace,
            @PathVariable String flowId,
            @RequestBody Map<String, Object> inputs) {

        String executionId = workflowService.triggerWorkflow(namespace, flowId, inputs);

        Map<String, String> response = new HashMap<>();
        response.put("executionId", executionId);
        response.put("status", "triggered");

        return ResponseEntity.ok(response);
    }

    @GetMapping("/status/{executionId}")
    public ResponseEntity<Map<String, String>> getStatus(@PathVariable String executionId) {
        ExecutionStatus status = workflowService.getExecutionStatus(executionId);

        Map<String, String> response = new HashMap<>();
        response.put("executionId", executionId);
        response.put("status", status.name());

        return ResponseEntity.ok(response);
    }
}
Monitoring and debugging
One of Kestra’s strengths is its monitoring capabilities. The web interface provides:
- Real-time execution logs: See each task’s output as it runs.
- Visual flow representation: View your workflow execution graphically.
- Metrics and performance data: Check execution times, success rates, and resources usage.
- Error details: Get detailed information when something goes wrong.
In production environments, you can integrate with external monitoring systems. For examples, use Prometheus and Grafana.
Best practices
Based on my experience with Kestra, here are some best practices:
- Keep workflows focused: Each workflow should have a single, clear purpose. Don’t try to do everything in one flow.
- Use namespace wisely: Organize your workflows, by team, environment, or business domain.
- Handle errors gracefully: Always include error handling and cleanup tasks.
- Version control: Store your workflows definitions in Git and use CI/CD to deploy them.
- Test: Use the UI to test workflows before deploying.
- Monitor: Keep an eye on memory and CPU usage, especially for data-intensive workflows.
Comparison with other tools
Having worked with Apache Airflow and other workflow engine, here’s how Kestra compares:
vs Apache Airflow
- Easier to lear and use, better UI/UX, YAML-based instead of Python code, Simpler deployment and maintenance.
vs Traditional Schedules
- Much more powerful and flexible, better error handling and retry mechanisms, rich integration ecosystem, modern web interface
Real-world use cases
In my projects, I’ve utilized Kestra for data pipeline orchestration, moving data between systems, transforming it, and loading it into data warehouses. I also implemented API integration workflows to synchronize data across various SaaS applications. Batch processing was used for running nightly reports and performing data cleanup tasks. For monitoring and alerting, I checked system health and sent notifications when issues arose. Lastly, I focused on DevOps automation, streamlining deployment pipelines and managing infrastructure tasks.
Conclusion
Kestra has impressed me with its balance of simplicity and power. The YAML approach helps team members who aren’t familiar with coding. It still offers the flexibility required for complex tasks.
The developer experience is great. From setup to debugging production issues, everything is well designed. The active community and comprehensive documentation make it easy to get help when you need it.
If you want a modern workflow orchestration tool, try Kestra. It’s a great choice, especially if you’re fed up with traditional tools’ complexity. The learning curve is gentle, but capabilities are robust enough for enterprise use.
In my Spring Boot projects, the API integration runs smoothly. Also, the monitoring features boost my confidence during production deployments. I’ve found it particularly valuable for orchestrating microservice interactions and data processing workflows.
References